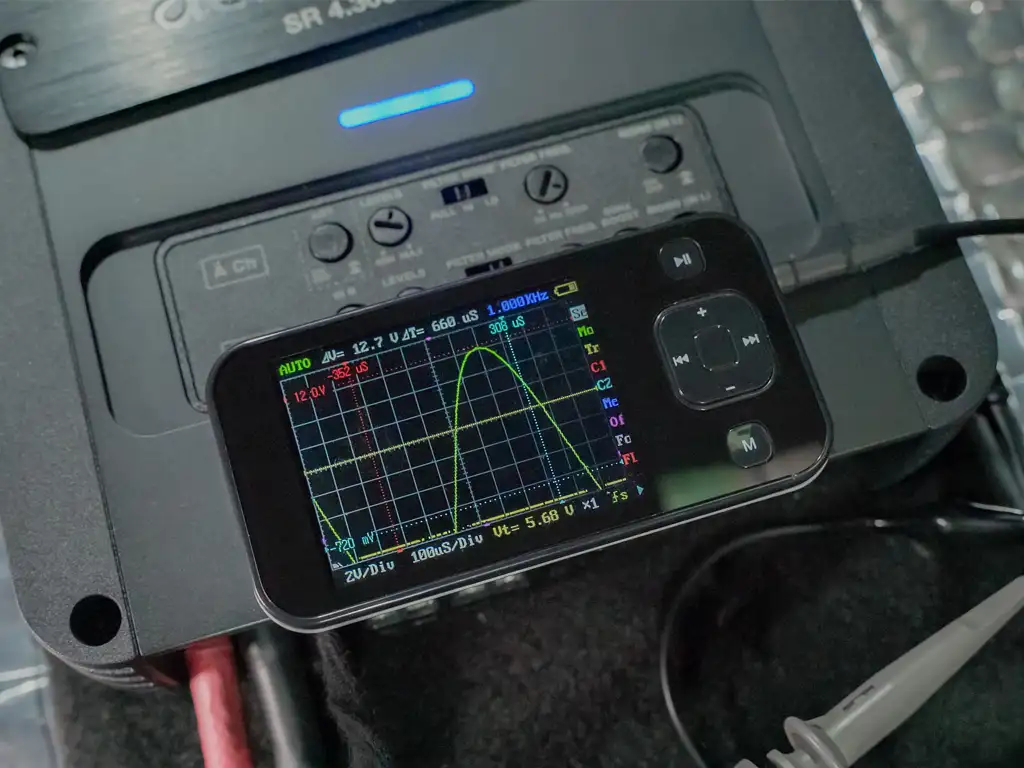
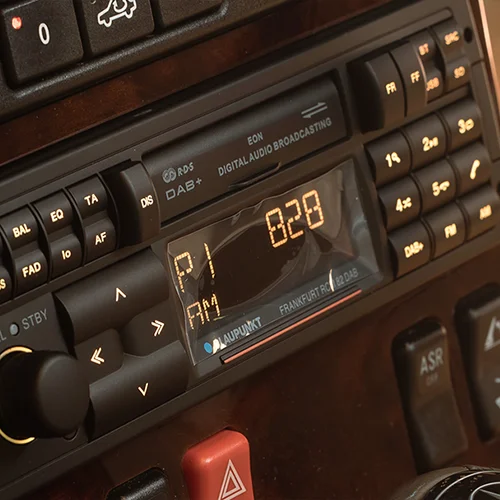
Car Electrical Diagnostics

Rely on the professionals to get it done
The price of electrical diagnostics can vary based on the complexity of the system, the nature of the problem, and the required tools for diagnostics. Advanced diagnostic procedures that involve complex systems may have a higher cost but offer more accurate results and effective solutions.
How to choose the best electrical diagnostics service for you?
When deciding on the top diagnostics company in the UK for electrical issues, evaluate the following aspects:
• Advanced diagnostics: 3-9 hours
How electrical diagnostics work?
1
Gather Tools and Documentation
We gather all the tools and documentation we need. This includes:
✔ Multimeter: A digital multimeter is essential for measuring voltage, current, and resistance.
✔ Wiring diagrams: Obtain the wiring diagrams for the specific vehicle model. These can often be found in repair manuals or online resources.
✔ Safety gear: Wear gloves and safety glasses to be protected from electrical hazards.
2
Identify the Problem
Before diving into diagnostics, we first talk to the vehicle owner to gather information about the problem.
Ask about symptoms, when they started, and any recent work done on the vehicle. This will help us narrow down the potential causes.
3
Clear Codes (If Necessary)
If there are any trouble codes stored in the vehicle's computer (ECU), we use a code reader or scanner to clear them. This step may only be needed for some diagnostics.
4
Battery Check
We will inspect the wiring and connectors for damage, corrosion, or loose connections:
1. Follow the wiring diagrams to locate the relevant wires and connectors.
2. Visually inspect the wires and connectors for damage.
3. Use a multimeter to check for continuity and voltage at various points in the circuit.
4. Repair or replace any damaged wires or connectors.
5
Inspect Fuses
Faulty fuses can cause electrical issues. We check the vehicle's fuse box for blown fuses:
1. Consult the wiring diagram to locate the fuse box's position.
2. Remove and visually inspect each fuse for signs of a blown fuse (a broken filament or discolouration).
3. Replace any blown fuses with fuses of the correct amperage.
6
Test Components
We check individual electrical components to ensure they are functioning correctly:
1. Use the wiring diagram to identify the component that needs to be tested.
2. Disconnect the component (e.g., a sensor, switch, or relay).
3. Test the component using the multimeter according to the manufacturer's specifications.
4. Replace any faulty components.
7
Grounding and Voltage Drop Test
1. Locate the vehicle's main ground points and inspect them for corrosion or loose connections.
2. Use the multimeter to perform voltage drop tests on the ground connections. A high voltage drop indicates a poor ground.
3. Clean or repair grounding points as needed.
8
Recheck and Verify
After making repairs or replacements, we will recheck the system to ensure the problem is resolved. Test the affected electrical systems to verify that they are functioning correctly.
9
Document and Inform
We always keep detailed notes of the diagnostic process, what we found, and the repairs we made.
Frequently Asked Questions
Enhancing
auto functionality
& aesthetics.
You may also like
Help is here. Whenever and however you need it.
Choose a service with one on one with a specialist. Online or at our site.


